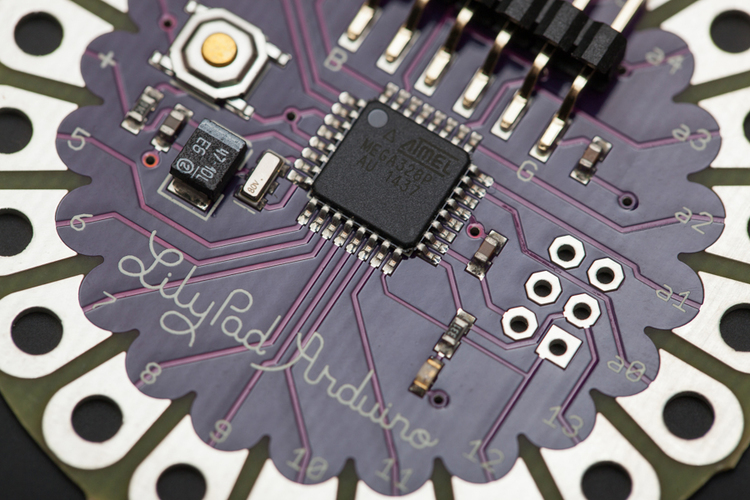
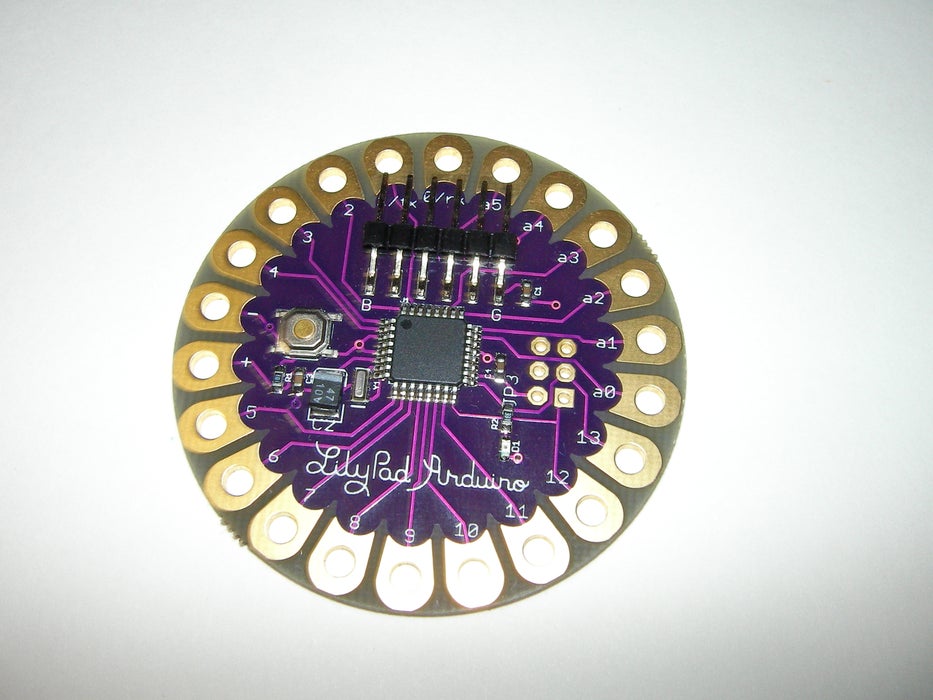
The LilyPad Arduino 328 Main Board is an Arduino-programmed microcontroller designed to be easily integrated into e-textiles and wearable projects. It offers the same functionality you find in other Arduino boards, in a lightweight, round package designed to minimize snagging and profile, with wide tabs that can be sewn down and connected with conductive thread.
The LilyPad Arduino consists of an ATmega328 with the Arduino bootloader and a minimum number of external components to keep it as small (and as simple) as possible. This board will run from 2V to 5V and offers large pin-out holes that make it easy to sew and connect. Each of these pins, with the exception of (+) and (-), can control an attached input or output device (like a light, motor, or switch). LilyPad is a wearable e-textile technology developed by Leah Buechley and cooperatively designed by Leah and SparkFun. Each LilyPad was creatively designed to have large connecting pads to allow them to be sewn into clothing. Various input, output, power, and sensor boards are available. They’re even washable!
What is LilyPad Arduino?
The LilyPad Arduino USB is a microcontroller board based on the ATmega32u4. It has 9 digital input/output pins (of which 4 can be used as PWM outputs and 4 as analog inputs), an 8 MHz resonator, a micro USB connection, a JST connector for a 3.7V LiPo battery, and a reset button.
Arduino Lilypad Features
-
- MicrocontrollerATmega168 or ATmega328V
-
- Operating Voltage:- 2.7-5.5 V
-
- Input Voltage:- 2.7-5.5 V
-
- Digital I/O Pins:- 14
-
- PWM Channels:- 6
-
- Analog Input Channels:- 6
-
- DC Current per I/O Pin:- 40 mA
-
- Flash Memory:- 16 KB (of which 2 KB used by bootloader)
-
- SRAM1 KBEEPROM:- 512 bytes
-
- Clock Speed:- 8 MHz
Arduino LilyPad Pinout
The following figure shows the pinout diagram of the Arduino Lilypad board.
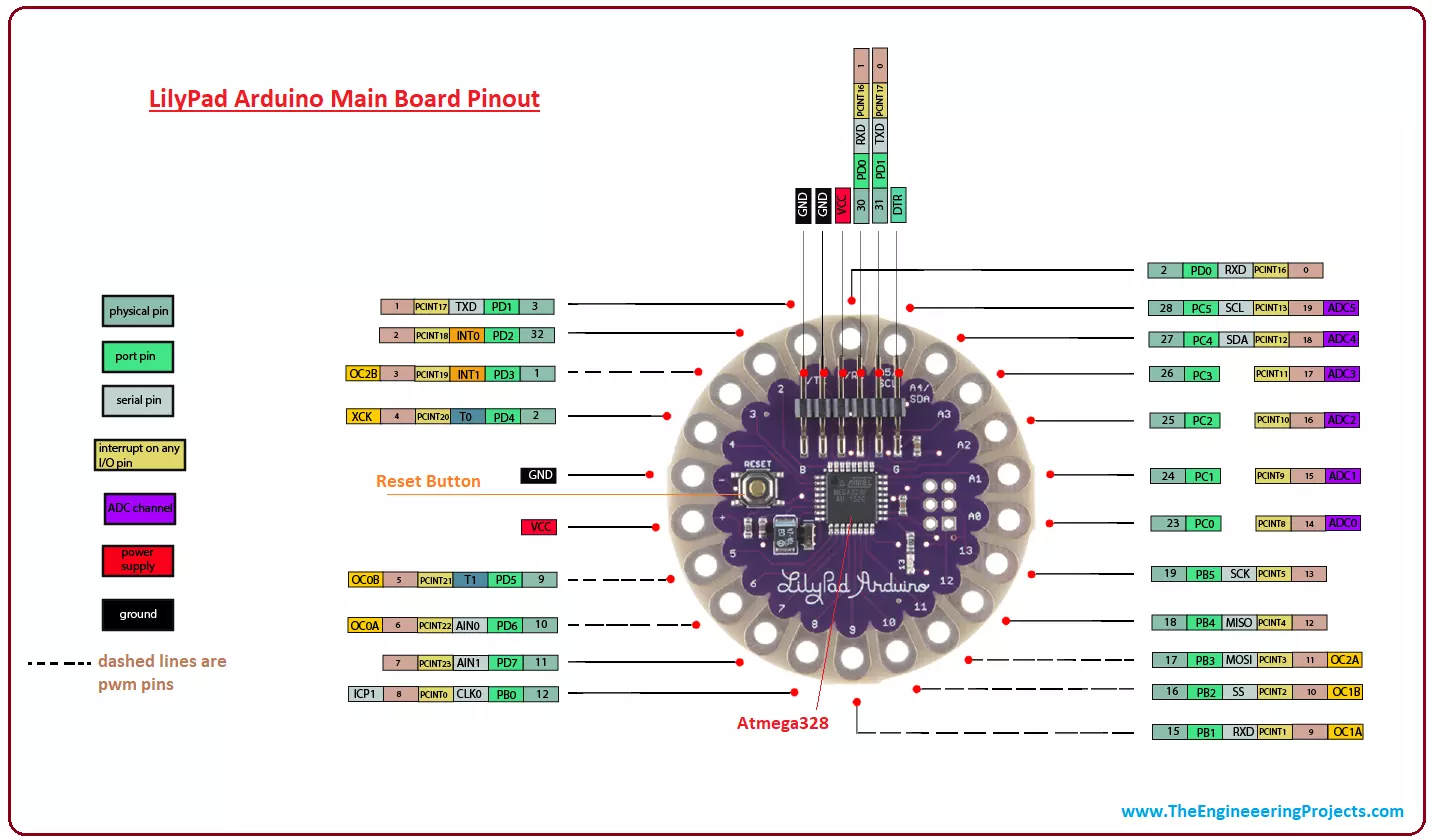
Arduino LilyPad Pin Description
There are a total of 20 I/O connecting pads on the board, one pin for +5VDC, and one pin for ground.
Each of the 14 digital I/O pins on the LilyPad Arduino can be used as an input or output, using pinMode(), digitalWrite(), and digitalRead() functions. They operate at 5V volts. Each pin can provide or receive a maximum of 40 mA and has an internal pull-up resistor (disconnected by default) of 20 kOhms. In addition, some pins have specialized functions: PWM: 5, 6, 9, 10, 11 Provide 8-bit PWM output with the analogWrite() function. Analog Inputs: A0-A5. The LilyPad Simple Arduino has 6 analog inputs, labeled A0 through A5, all of which can also be used as digital I/O. Each analog input provides 10 bits of resolution (i.e. 1024 different values). By default the analog inputs measure from ground to 5 volts, though is it possible to change the upper end of their range using the analogReference() function.
How to Program Arduino LilyPad
You can layout the LilyPad connection by following the given steps.
-
- Be careful while connecting the power and ground pins of the board. The +5V power must be connected to the positive tab on the board and the ground tab of the board should be connected to the ground of the power source. The reverse connection can cause severe damage to the board and in a worst-case scenario, your board may stop working all at once.
-
- There are two ways to generate a regulated +5V power source: Using a +5V pin of the Mini USB Adapter or employing another 2.7-5.5V power source using a Lithium rechargeable battery.
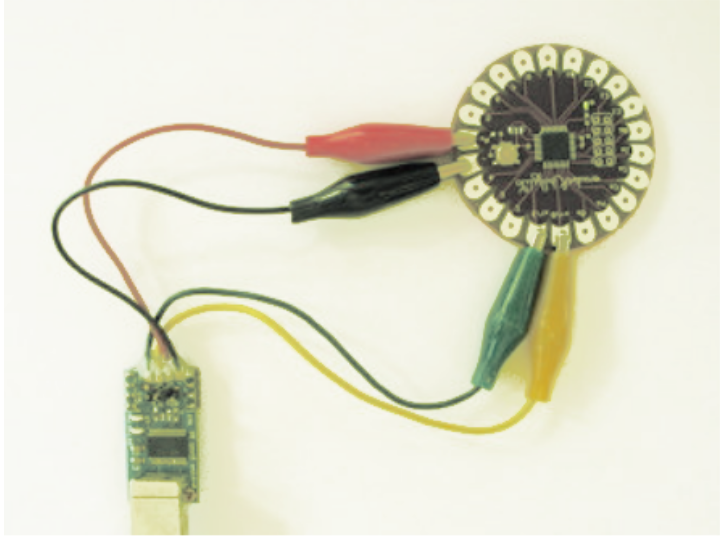
The following figure shows the LilyPad connection with Mini USB Adapter:
-
- You can see the two circular tabs on the board marked as TX and RX that are mainly used in two ways: For uploading new sketches to the board and establishing a serial communication with other devices.
-
- Apart from using your own power supply, you can also use Mini USB Adapter or Arduino NG board for connecting the Pad with the computer.
The following figure shows the connection of the Arduino UNO with LilyPad:
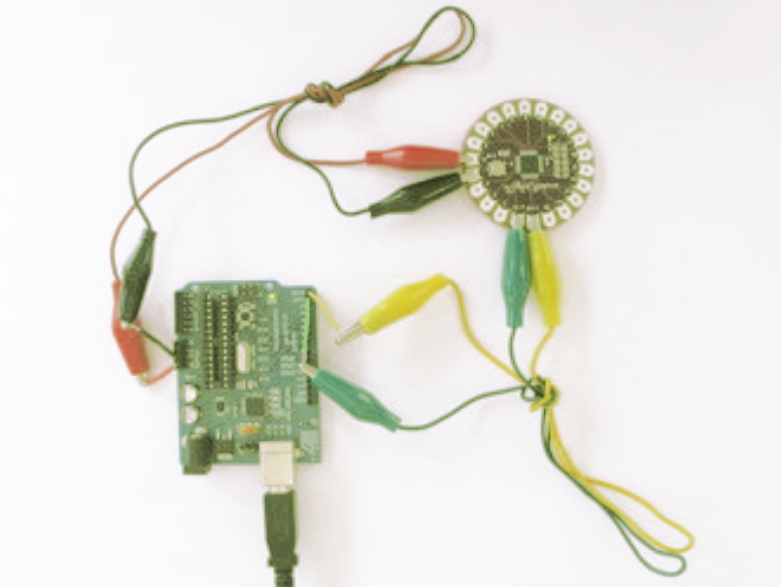
Note: Don’t forget to remove the ATmega8 or ATmega168 from the NG before connecting it with the LilyPad. You can use alligator clips and jumper wires for connecting the +, -, TX and RX tabs on the LilyPad with the corresponding pins on the NG board.
Arduino LilyPad Applications
-
- LilyPad is really very handy for e-textile and wearable products, because of its small size.
-
- Arduino Lilypad is used in IoT products and embedded projects as well.
-
- The circular tabs covering the whole Pad at the edge are mainly used for the connection between the Pad and wearable products.